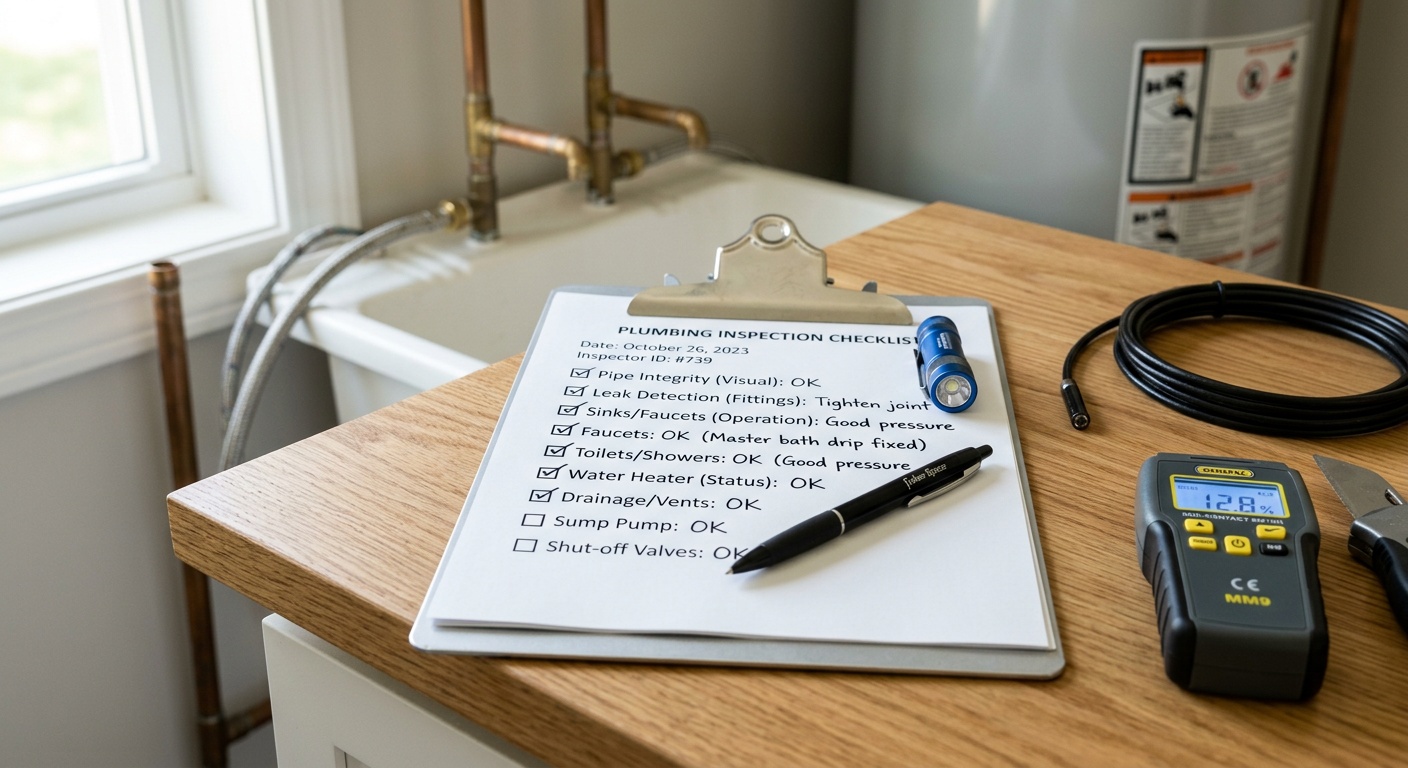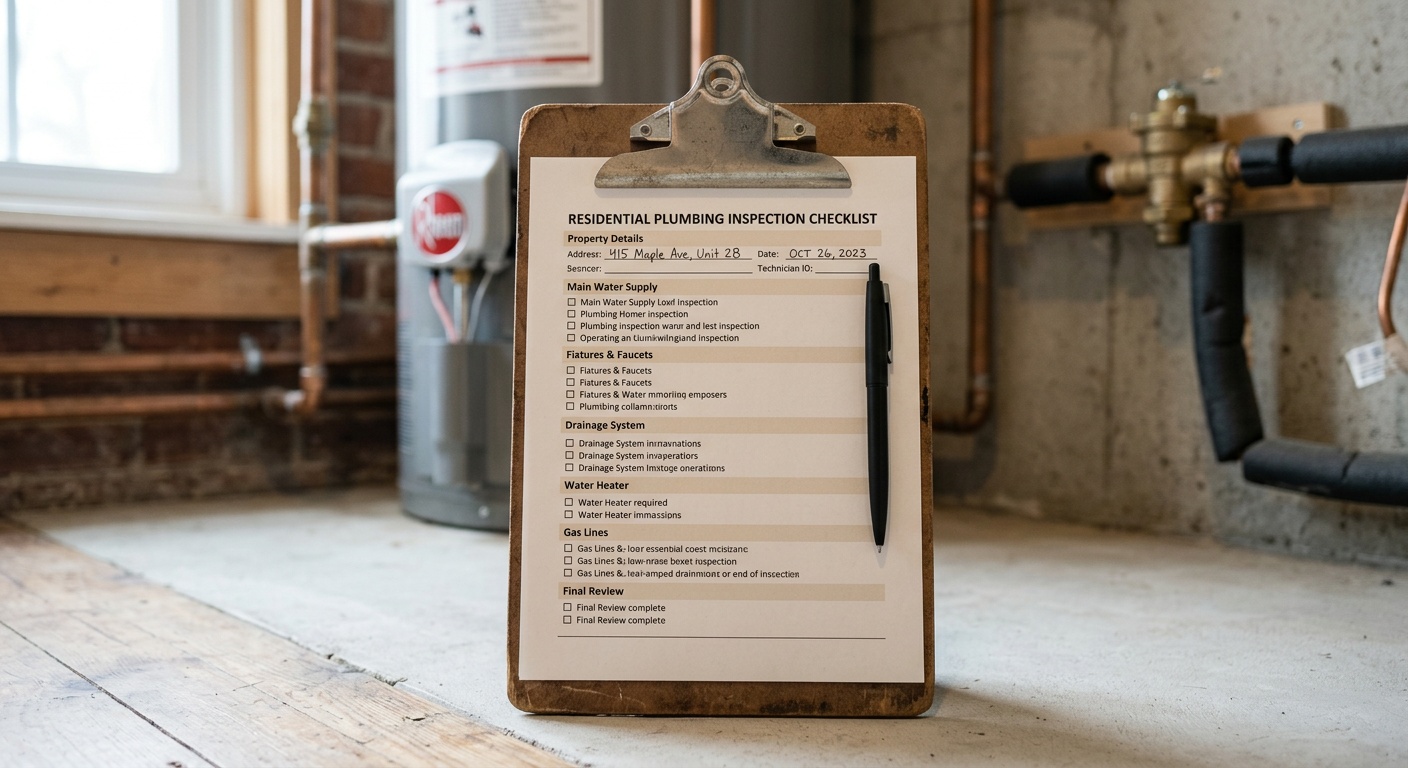
Annual Plumbing Inspection Checklist for San Antonio Residents: Your Complete 2026 Guide
Reading time: 12 minutes
Let’s be honest — nobody gets excited about plumbing. Until, that is, you’re standing ankle-deep in water at 11 PM on a Tuesday, watching your weekend plans dissolve along with your emergency fund. In San Antonio, where summer temperatures regularly push past 100°F and the occasional winter freeze can catch even seasoned homeowners off guard, your plumbing system faces a uniquely punishing set of conditions year-round.
The good news? A systematic annual inspection can prevent the vast majority of plumbing disasters before they happen. According to the Insurance Information Institute’s 2025 Homeowner Loss Report, water damage and freezing-related plumbing claims account for nearly 29% of all homeowner insurance claims nationwide — with the average claim exceeding $13,500. In Bexar County specifically, SAWS (San Antonio Water System) reported a 17% increase in residential emergency service calls in 2025, many of which could have been prevented with routine maintenance.
This guide is your straight-talking, actionable roadmap to conducting a thorough annual plumbing inspection — tailored specifically to San Antonio’s climate, infrastructure, and the quirks that make this city unique.
Table of Contents
- Why Annual Inspections Matter in San Antonio
- Exterior Plumbing Checklist
- Interior Plumbing Checklist
- Kitchen & Appliance Inspection Points
- Bathroom Deep Dive
- Water Heater & Pressure Assessment
- San Antonio Seasonal Plumbing Considerations
- DIY vs. Professional: Knowing the Line
- Frequently Asked Questions
- Your Pipe-to-Pipe Action Plan: Next Steps
Why Annual Inspections Matter in San Antonio
San Antonio’s plumbing challenges are genuinely different from those in Dallas, Houston, or other Texas metros. The city sits atop the Edwards Aquifer — the primary water source for over 2 million people — and the local water supply carries a notably high mineral content. The average water hardness in San Antonio measures between 200–350 parts per million (PPM), which is classified as “very hard” by the U.S. Geological Survey. That mineral load accelerates scale buildup inside pipes, reduces appliance efficiency, and can quietly choke your water heater’s performance by 25–30% over just a few years.
Then there’s the temperature volatility. In February 2021, Winter Storm Uri devastated San Antonio’s infrastructure. While the city has upgraded emergency protocols since then, the 2025 winter season still saw localized freeze events that caused burst pipe reports to spike 40% above the seasonal average, according to SAWS data. Conversely, the brutal summer heat stresses outdoor irrigation systems, underground supply lines, and water heaters operating in non-conditioned spaces like garages.
“Most homeowners discover a plumbing problem after it’s already caused damage. The ones who don’t are usually the ones who inspect proactively — not because they’re handy, but because they’re strategic about maintenance timing.” — Marcus Delgado, Licensed Master Plumber, San Antonio (2025 PHCC Texas Chapter Member)
The bottom line: a $150–$300 professional inspection can realistically save you $5,000–$15,000 in water damage remediation. That’s not theoretical — that’s the math San Antonio homeowners are living in 2026.
Exterior Plumbing Checklist
Start from the outside. It’s counterintuitive for most homeowners, but exterior plumbing issues are often the earliest indicators of deeper systemic problems.
Outdoor Faucets and Hose Bibs
Walk your property perimeter and inspect every hose bib (outdoor faucet) for the following:
- Dripping or slow leaks — even a faucet losing one drip per second wastes approximately 3,000 gallons per year, per SAWS estimates
- Corrosion or mineral deposits around the spigot body — common given San Antonio’s hard water
- Loose mounting — the faucet body should be firmly attached to the wall; movement suggests internal pipe stress
- Backflow preventer functionality — these small devices protect your drinking water supply from contamination and are required by San Antonio city code on irrigation connections
Quick scenario: A homeowner in the Alamo Heights neighborhood noticed a slight dampness in their foundation garden bed in early March 2025. It turned out a hose bib had developed a hairline crack during the previous December freeze — one that wasn’t immediately obvious. By summer, it had wept enough moisture to compromise a 4-foot section of foundation landscaping. A 10-minute exterior inspection in January would have caught it immediately.
Irrigation System Assessment
San Antonio’s Stage 1 and Stage 2 water restrictions in recent summers make irrigation efficiency not just good practice — it’s financially and legally important. During your annual inspection:
- Run each zone manually and observe spray patterns for broken or misaligned heads
- Check for soggy patches between watering cycles — a sign of underground line leaks
- Inspect the backflow preventer (typically a visible device near your water meter) for cracks or freeze damage
- Verify your controller’s programming reflects current SAWS watering day restrictions for 2026
- Test the rain sensor if installed — many go faulty after 2–3 years
Check the area around your water meter box. If you see pooling water, green patches of unusually vigorous grass, or hear running water when all fixtures are off — you may have a service line leak between the meter and your home. This is your responsibility to repair in San Antonio, not SAWS’s.
Interior Plumbing Checklist
Once your exterior assessment is complete, move systematically through your home’s interior. The most effective approach is to follow the water supply flow: from your main shutoff inward, then checking drain lines as you go.
Main Shutoff Valve
Do you know where your main water shutoff is? More importantly — does it actually work? In a burst pipe emergency, you have minutes to respond. Locate your shutoff (typically near the water meter, in a utility closet, or in the garage) and turn it fully clockwise, then back. If it’s stiff, corroded, or won’t fully stop water flow, this is a priority repair. A faulty shutoff in a crisis can mean the difference between a $200 repair and a $12,000 remediation job.
Under-Sink Inspections
This is where most homeowners have their most unpleasant surprises. Open every under-sink cabinet in your home and inspect:
- Supply line connections — look for mineral crust, rust staining, or moisture on braided steel supply lines. Lines older than 5–7 years should be considered for proactive replacement; they are a leading cause of interior water damage
- P-trap and drain connections — look for white mineral deposits, dark staining, or soft spots in adjacent cabinetry indicating a slow leak
- Cabinet floor condition — swelling, warping, or discoloration of the cabinet base is a near-certain sign of a past or ongoing leak
- Drain stoppers and basket strainers — check for corrosion at the seal point between the drain body and sink basin
Kitchen & Appliance Inspection Points
The kitchen carries some of your home’s highest-risk plumbing connections because of the combination of water supply lines, drain lines, and appliances operating in close proximity.
Dishwasher connections: Pull the dishwasher out slightly (or inspect through the kick plate) and look at the supply line and drain hose. The drain hose should have a high-loop or air gap to prevent backflow. A kinked or cracked drain hose is a common source of hidden under-floor moisture.
Refrigerator ice maker line: The thin plastic or copper tubing connecting your refrigerator to the water supply is one of the most frequently overlooked sources of slow leaks. Check the connection at both the wall valve and the back of the refrigerator. Consider upgrading to a braided steel line if yours is still the original plastic tubing — a $15 part that prevents potential flooring damage worth thousands.
Garbage disposal: Run water and operate the disposal. Listen for unusual grinding or vibration that might indicate worn bearings. Check the flange seal where the disposal connects to the sink drain — this is a high-frequency leak point. Also verify the electrical connection beneath is not exposed to any drip paths.
Kitchen faucet: Wobble the faucet base. Any movement indicates a loose mounting nut beneath the sink — a slow vibration that will eventually damage the supply connections. Check under the hot handle for a drip, which often indicates a worn cartridge inside the faucet body.
Bathroom Deep Dive
Bathrooms concentrate more plumbing connections per square foot than any other room in your home. Inspect each bathroom systematically:
Toilet Assessment Protocol
A running toilet is deceptively expensive. A standard-sized flapper leak in San Antonio can waste 200 gallons per day — that’s roughly $60–$80 per month added to your SAWS bill. Perform this simple diagnostic:
- Drop food coloring or a dye tablet (available free at SAWS conservation events) into the toilet tank
- Wait 15 minutes without flushing
- If color appears in the bowl, your flapper is leaking — a $5–$10 DIY fix
- Check that the water level in the tank sits 1 inch below the overflow tube
- Inspect the base of the toilet for any discoloration or soft flooring — a sign of a failed wax ring seal
- Gently rock the toilet. It should not move. Movement means loose floor bolts or a compromised wax seal
Shower and Tub Inspection
Caulk and grout failures are among the most underestimated sources of water damage in San Antonio homes. Inspect:
- All grout lines in tiled showers — look for missing sections, dark discoloration (mold), or crumbling edges
- Caulk at the tub-to-wall seam and floor — any gaps allow water intrusion behind walls, where mold can develop within 48 hours in San Antonio’s humid summers
- Showerhead for mineral buildup — immerse in white vinegar overnight annually to restore flow rate
- Shower pan or tub floor for soft spots (fiberglass) or cracked tiles that may allow sub-floor moisture penetration
Bathroom exhaust fans are indirectly critical to plumbing health — inadequate ventilation creates the chronic moisture conditions that accelerate mold behind walls and in ceiling cavities near plumbing penetrations. Make sure yours vents to the exterior, not just into the attic space.
Water Heater & Pressure Assessment
Your water heater is both the most expensive plumbing appliance in your home and the most frequently neglected. In 2026, with natural gas prices in the San Antonio area averaging $1.38/therm (CPS Energy rate schedule), an inefficient water heater can meaningfully impact your monthly utility bill.
Water Heater Inspection Points
- Age and warranty status: Most tank water heaters have a 6–12 year lifespan. Check the serial number — many manufacturers encode the manufacturing date in the first 4 characters. If your unit is over 10 years old, plan for replacement rather than repair
- Anode rod condition: The sacrificial anode rod inside your tank prevents corrosion. In San Antonio’s hard water environment, these rods deplete significantly faster than national averages — inspect every 2–3 years and replace when more than 50% depleted
- Sediment flush: Connect a hose to the drain valve and flush 2–3 gallons annually. San Antonio’s mineral-heavy water creates sediment layers that insulate the burner, reducing efficiency and accelerating tank degradation
- T&P relief valve test: Briefly lift the test lever on the temperature and pressure relief valve to confirm it releases water freely. A valve that won’t open or won’t reseat is a safety hazard requiring immediate replacement
- Expansion tank presence: Homes on a closed water system (with a pressure-reducing valve) in San Antonio must have a thermal expansion tank installed by city code. Verify yours is present and properly sized
Water Pressure Testing
Optimal residential water pressure in San Antonio runs between 40–80 PSI. A simple pressure gauge (available for $10–$15 at any hardware store) threaded onto a hose bib gives you an accurate reading. Pressure above 80 PSI stresses every joint, valve, and appliance connection in your home, dramatically shortening their service life. If your pressure exceeds 80 PSI, a licensed plumber should assess your pressure-reducing valve (PRV).
San Antonio Seasonal Plumbing Considerations
San Antonio’s climate doesn’t follow a predictable textbook pattern, and your inspection timing should reflect that reality.
San Antonio Plumbing Risk by Season (2026 Assessment)
The ideal time for your annual inspection in San Antonio is October or November — after the brutal summer heat has passed and before any freeze risk emerges. This window lets you address any summer-stress damage and prepare for winter in a single proactive sweep.
Pre-freeze preparation specifically should include: insulating exposed pipes in the garage or attic, disconnecting and draining garden hoses, knowing how to operate your main shutoff quickly, and keeping a dripping faucet strategy ready for nights below 28°F. SAWS sends freeze alerts via its customer text notification system — make sure you’re enrolled before December 2026.
DIY vs. Professional: Knowing the Line
Here’s the straight talk: there’s a meaningful set of inspection tasks a proactive homeowner can perform themselves — and a clear line where professional expertise becomes non-negotiable.
| Inspection Task | DIY Capable | Pro Required | Estimated Pro Cost (SA, 2026) |
|---|---|---|---|
| Toilet dye test & flapper replacement | ✅ | — | $5–$15 (DIY parts only) |
| Water pressure testing | ✅ | — | $10–$15 (gauge purchase) |
| PRV (pressure reducing valve) replacement | — | ✅ | $180–$350 installed |
| Water heater anode rod replacement | ⚠️ Intermediate | — | $50–$120 (pro service) |
| Sewer camera line inspection | — | ✅ | $175–$350 per inspection |
For a comprehensive whole-home professional inspection in San Antonio in 2026, expect to pay between $150 and $375, depending on home size and the scope of services included. Reputable local providers such as Roto-Rooter San Antonio, Chambliss Plumbing, and PlumbSmart offer annual maintenance plan pricing that can reduce per-visit costs by 15–20% for enrolled customers.
One critical professional service San Antonio homeowners over 15 years of occupancy should strongly consider: a sewer camera inspection. The city’s older neighborhoods — King William, Mahncke Park, Woodlawn Lake — commonly have original cast iron or Orangeburg sewer laterals that are reaching or exceeding their service life in 2026. A camera inspection revealing a partially collapsed lateral can save you from a sudden, catastrophic backup and the $4,000–$12,000 cost of emergency lateral replacement.
Frequently Asked Questions
How often should San Antonio homeowners schedule a professional plumbing inspection?
For most homes, a thorough professional inspection every 12–18 months is appropriate, supplemented by the DIY checklist items described in this guide at the beginning and end of each summer season. Homes over 20 years old, properties with known hard water scaling issues, or houses with a history of leak claims should consider annual professional inspections without exception. SAWS also offers free water efficiency audits for residential customers that include a basic plumbing assessment — a valuable resource to take advantage of in 2026 before summer water restrictions take effect.
What are the signs that my San Antonio home may have a hidden slab leak?
Slab leaks — water line failures beneath your home’s concrete foundation — are more common in San Antonio than many homeowners realize, partly due to the region’s expansive clay soils that shift with moisture changes. Warning signs include: unexplained increases in your SAWS water bill (a 20%+ jump with no obvious cause), the sound of running water when all fixtures are off, warm or wet spots on your floor (for hot water line leaks), cracks appearing in interior walls or flooring, and mold or mildew odors with no visible source. If you observe two or more of these indicators simultaneously, contact a licensed plumber immediately — slab leak detection using electronic amplification or thermal imaging costs $150–$300 and can save you from foundation-level structural damage.
Does San Antonio’s hard water require any special plumbing maintenance not mentioned in standard guides?
Absolutely. San Antonio’s water hardness is significantly above national averages and demands specific countermeasures. First, seriously evaluate a whole-home water softener or a salt-free descaler system — in 2026, quality systems range from $800 to $2,500 installed, and they measurably extend the life of every water-using appliance in your home. Second, flush your tankless water heater or traditional tank heater’s heat exchanger annually with a food-grade descaling solution — manufacturer recommendations for this procedure assume average water hardness and will understate frequency for SA’s mineral levels. Third, inspect aerators on all faucets every 6 months: unscrew them, rinse out the sediment, and soak in vinegar if calcified. This simple step maintains water pressure and extends faucet valve life substantially.
Your Pipe-to-Pipe Action Plan: Next Steps
You now have a framework that most San Antonio homeowners never build until after a costly emergency. Let’s convert this knowledge into momentum with a concrete 5-step action plan:
- Schedule your inspection window this week. Block a Saturday morning in October or November 2026 for your full inspection walkthrough. Add it to your calendar right now — not “eventually.” Use this article as your literal checklist, room by room.
- Gather your tools in advance. You’ll need: a flashlight, a water pressure gauge ($10–$15 at Home Depot or Lowe’s Potranco or Nacogdoches locations), toilet dye tablets (free from SAWS), a notepad, and your phone camera to document anything suspicious.
- Know your shutoff valve location today. Before you do anything else, locate your main shutoff valve and confirm it operates correctly. This 5-minute task could save you $10,000+ if a pipe failure happens while you’re at work or traveling.
- Book a professional inspection if your home is 15+ years old. Use October–November as your scheduling window. Request that any sewer camera inspection be included or quoted separately. If your home is in an older San Antonio neighborhood, this step is especially non-negotiable.
- Enroll in SAWS freeze alerts and conservation programs. Visit saws.org to activate text/email freeze warnings, explore rebate programs for water-efficient fixtures (SAWS offered up to $100 rebates on qualifying toilets in 2025, with 2026 programs expected to continue), and check your water use dashboard to establish a baseline before summer 2026.
As San Antonio continues to grow — projected to add over 200,000 new residents by 2030 according to Bexar County planning estimates — aging infrastructure and increased demand on the Edwards Aquifer make residential water conservation and plumbing efficiency not just personal financial decisions, but civic responsibilities.
Your plumbing system silently serves you 24 hours a day, 365 days a year. It asks for surprisingly little in return — mostly just attention, once a year. So here’s the question worth sitting with: what would it actually cost you to ignore this checklist for another year? If the answer makes you even slightly uncomfortable, you already know what to do next.